MAC Randomisation and how to disable it
As part of iOS 14 and Android 11, mobile phones have had introduced the ability to have what they call a "Private Wi-FI address".
The Wi-FI address - more commonly known as the MAC address - is a twelve-digit code of numbers and letters, unique to your device's network hardware. It can also be called the Physical address, and it's used by networks to keep track of all the individual devices connected.
Most of the time, this is totally unchanging, but manufacturers have introduced this feature as an additional option to keep your device safe if you connect to a lot of different Wi-Fi networks regularly, such as coffee shops, pubs, supermarkets etc. There's very little that can actually be exploited by having your MAC address alone, but without having it change, a Wi-Fi operator might be able to roughly track your different connection instances on their Wi-Fi network.
As Glide is a residential service, our network is expecting your devices to keep the same MAC address, as such we use it to make sure that you're always being given the right speeds and you don't have to log into your account all the time to renew the connection. If you don't have MAC Randomisation disabled, you will find that you're disconnected from the GLide network every time it changes, since to us, you now look like a brand new device. You can read a little more about security on the Glide network here.
If you're having issues connecting at all, you can make sure you're logged into your account, or troubleshooting the problem.
Disabling Private Wi-Fi Addresses
Handily, manufacturers have taken networks like Glide's into account, and provide instructions on how to disable the feature for certain networks. This means you can keep it enabled for other networks, but disabled when connected to Glide. Click the links below to expand the instructions:
Apple devices
|
iPhone, iPad, or iPod touch
|
|
|
Apple Watch
|
|

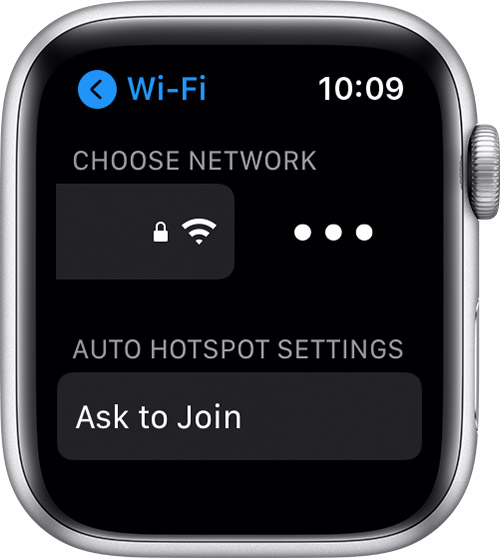
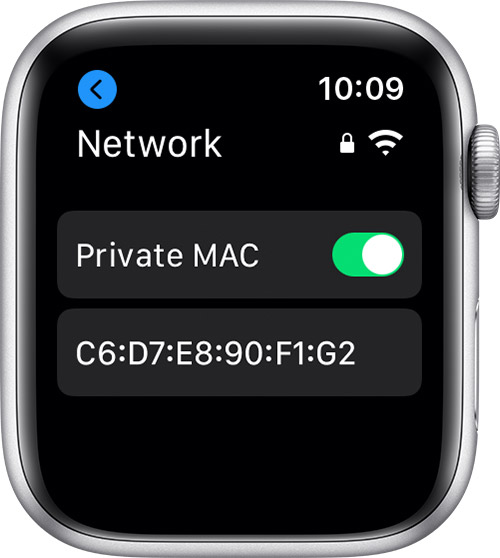
Source: Apple Support
Android devices
|
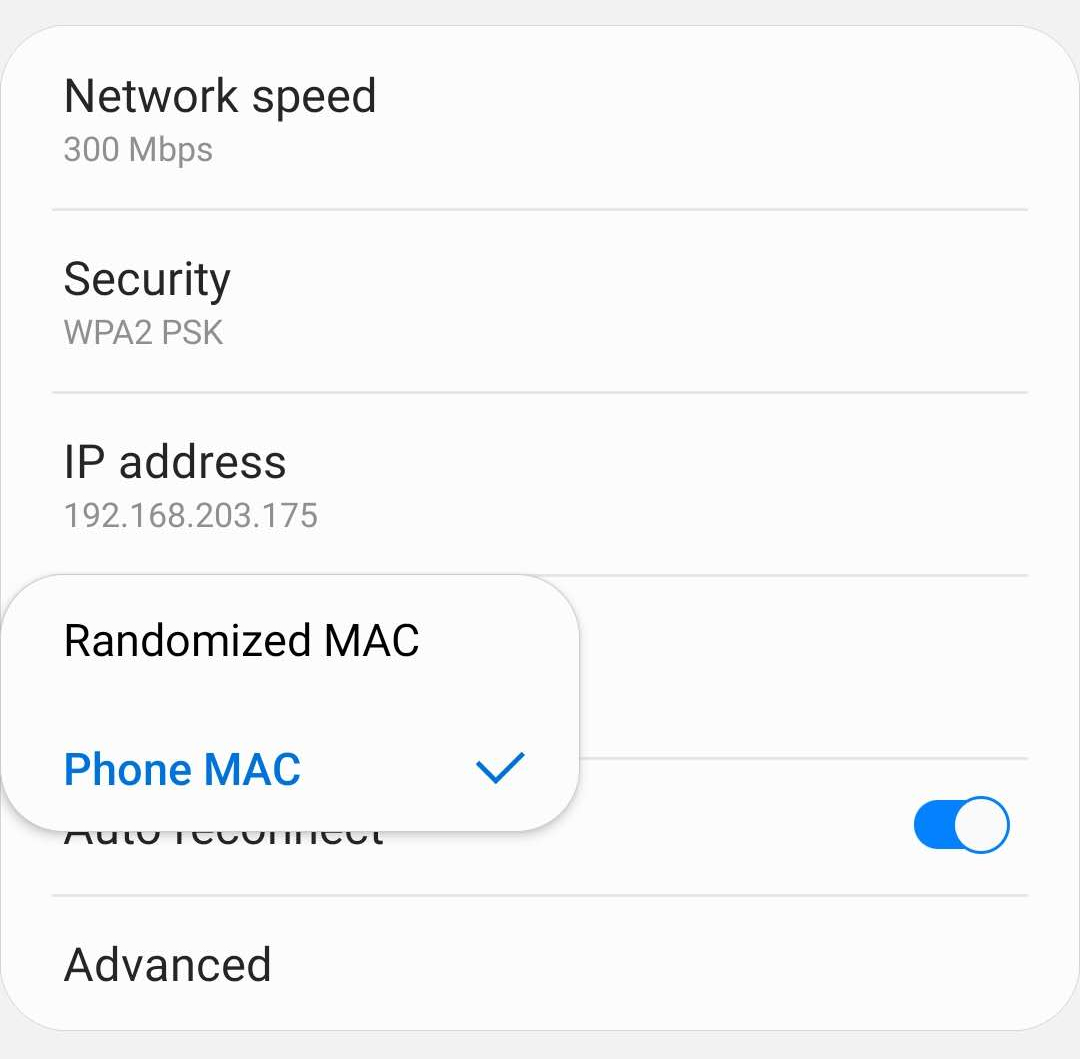 |