How to connect to Wi-Fi
This guide explains how to connect at a property that uses the standard Glide network. At these properties, each device is connected by signing in through the Glide welcome page in a web browser.
Can you see Glide_Signup and Glide_Resident?
If both Glide_Signup and Glide_Resident are available, your property uses a personal Wi-Fi password system. Connect to Glide_Signup temporarily to register and receive your personal three-word Wi-Fi password, then disconnect from the sign-up network and connect to Glide_Resident using that password. Devices that connect using your personal password are linked to your account automatically, so you do not normally need to add their MAC addresses manually. Please follow our Get Connected guide instead of the instructions on this page.
Watch our connection guide
Connect to the Glide network
Step 1 – Select the Glide network
- Open the Wi-Fi settings on your device and connect to the network named Glide. You can also connect using an Ethernet cable where a wired connection is available.
- If you are using a mobile phone, temporarily turn off mobile data so the phone uses the Glide Wi-Fi connection during sign-in.
- Open your preferred web browser.
Step 2 – Open the Glide welcome page
Your browser should redirect automatically to the Glide welcome page shown below.
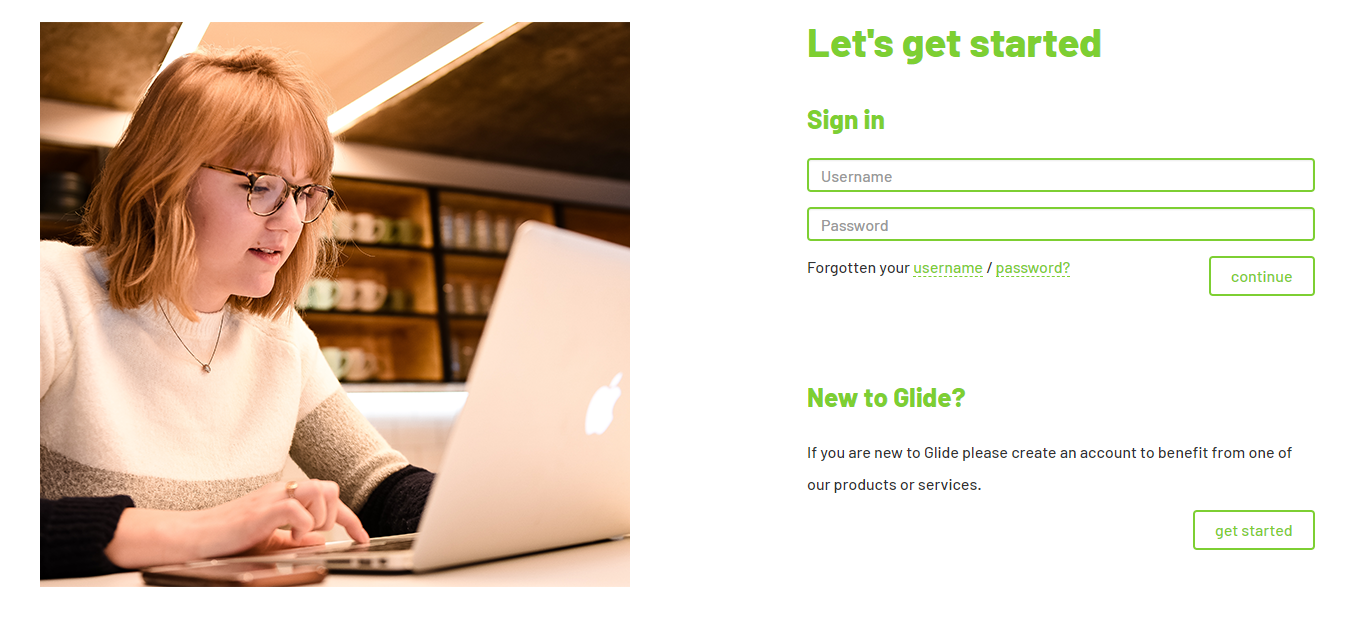
If the welcome page does not appear, try opening a new browser window and visiting a website. You can also turn Wi-Fi off and back on, reconnect to Glide and try again.
Browser security message: Your browser may display a message while the Glide network redirects you to the welcome page. Only continue if you are connected to the official Glide network and the page redirects to the expected Glide welcome screen. If anything looks unfamiliar, do not enter your account details and contact the Service Desk.
Step 3 – Sign in or create an account
- If you already have a Glide account, enter your username and password, then select Continue.
- If you do not have an account, select Get Started and complete the registration process.
Step 4 – Confirm that you are connected
When sign-in is complete, a screen will confirm that Your Broadband is now enabled. Your device is now linked securely to your Glide account and should be able to access the internet.
Connect your other devices
Repeat the steps above on each computer, laptop, tablet or mobile phone that you want to connect, using the same Glide account on every device.
Devices without a web browser, such as games consoles, smart TVs, streaming devices and smart speakers, must be linked to your account using their MAC address. Follow our guide to adding a device to your Glide account.
Still unable to get online?
If you cannot browse after following these steps, use our Wi-Fi troubleshooting guide or contact the Service Desk using the form below.